Sock loom knitting is a versatile and accessible method for creating custom-fit socks. It uses a loom to weave yarn into fabric, offering a unique alternative to traditional needle knitting. Perfect for beginners and experienced crafters alike, it allows for personalized styles and cozy results.

Choosing the Right Sock Loom
Selecting the appropriate sock loom is essential for achieving professional-looking results. With various types of looms available, including round, oval, and square options, it’s important to consider your project’s specific needs. Round looms are ideal for toe-up socks, while oval or square looms offer versatility for different stitch patterns.
Loom size plays a critical role in ensuring proper fit. Sock looms come in different peg counts, which determine the circumference of the sock. Choose a loom that matches your desired sock size, whether it’s for adults or children. Additionally, consider the yarn weight and stitch complexity, as these factors influence the loom’s compatibility.
Personal preference also matters. Some crafters prefer the portability of smaller looms, while others opt for larger ones for quicker projects. Beginners may benefit from starter kits or looms with built-in guides for ease of use. Always check reviews or tutorials to ensure the loom aligns with your skill level and project goals.
Ultimately, the right loom will enhance your knitting experience, making the process enjoyable and rewarding.
Materials Needed for Sock Loom Knitting
To begin your sock loom knitting project, you’ll need a few essential materials. First and foremost, a sock loom is required—available in round, oval, or square designs. The type of loom you choose will depend on the style of socks you want to create.
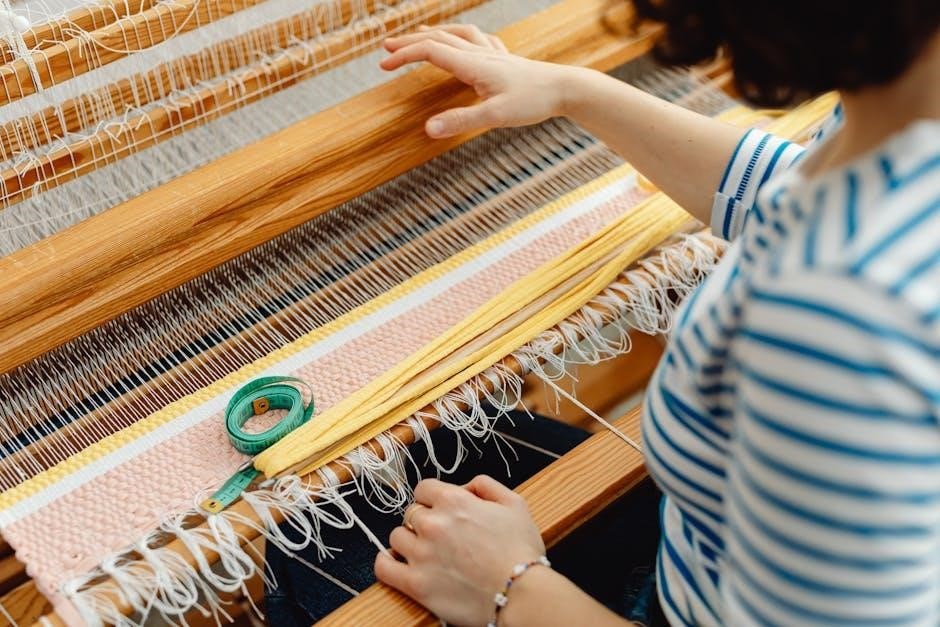
Yarn is another critical component. Fingering weight yarn is ideal for socks, but you can also experiment with bulky yarn for thicker, warmer options. A tapestry needle is necessary for weaving in ends and sewing seams. Additionally, a measuring tape is handy for ensuring the correct fit and monitoring progress.
Stitch markers or small clips can help mark increases, decreases, or specific patterns. While optional, they simplify the process, especially for beginners. Some crafters also use locking stitch markers or even nail polish to temporarily mark pegs on the loom. Double-pointed knitting needles (size 1 or 2) may be needed for finishing touches or sewing seams.
Lastly, ensure you have a consistent yarn weight and proper gauge to achieve the desired texture and fit. These materials are widely available at craft stores or online, making it easy to get started with your sock loom knitting journey.
Casting On Techniques
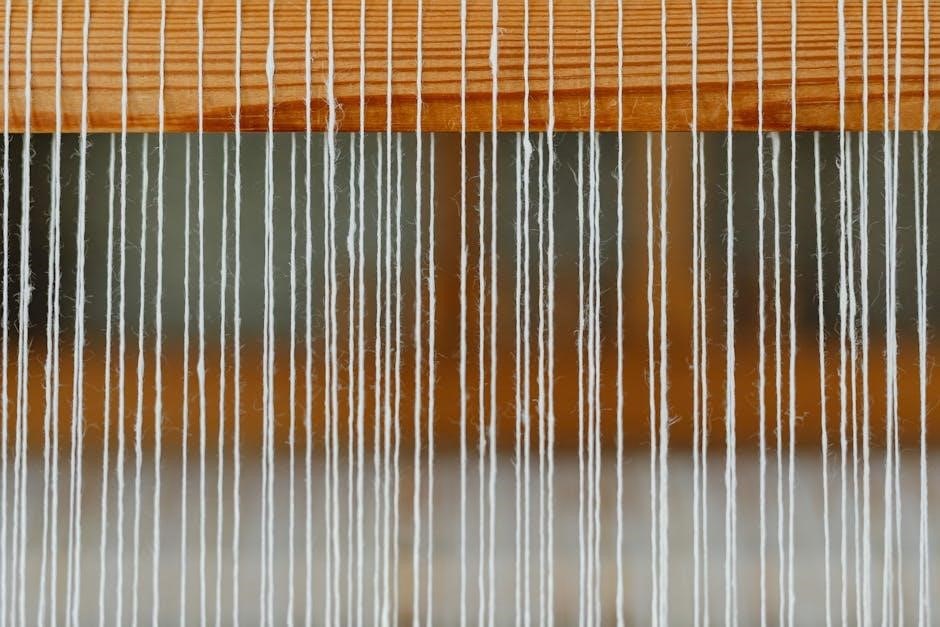
Casting on is the first step in sock loom knitting, setting the foundation for your project. The most common method is the e-wrap cast-on, which involves wrapping the yarn around the loom’s pegs in a specific pattern. Start by securing the yarn to the first peg, then loop it around each subsequent peg, creating a consistent tension. This method works well for most sock patterns and ensures a stretchy cuff.
For a more invisible join, some knitters prefer the long-tail cast-on, though it can be trickier on a loom. Alternatively, the figure-8 cast-on is another popular choice, wrapping the yarn in a figure-eight pattern around the pegs. Regardless of the method, maintaining even tension is crucial to avoid a tight or loose cuff;
Once the yarn is cast on, gently pull it to ensure it’s not too tight or too loose. Using a stitch marker or small clip can help mark the starting point. Proper casting on ensures a smooth knitting process and a professional finish. With practice, you’ll master the technique, making your sock loom projects seamless and enjoyable.

Knitting the Basic Sock Structure
Once the yarn is cast on, the next step is to begin knitting the body of the sock. Start by bringing the working yarn to the first peg and pulling it gently to create the first stitch. For a basic sock, use the e-wrap method, wrapping the yarn around each peg in a consistent manner. Begin with a ribbed cuff by alternating between knit and purl rows, which provides elasticity and a comfortable fit.
After completing the cuff, transition to stockinette stitch for the main body of the sock. Maintain even tension as you work row after row, using the loom’s pegs as a guide. Periodically measure the sock against your foot or a sizing chart to ensure proper fit. For added organization, use stitch markers to mark increases or decreases, especially around the heel and toe areas.
As you approach the toe, prepare for shaping by gradually decreasing stitches. Use a tapestry needle to weave in ends and keep the fabric neat. The process is straightforward, and with practice, you’ll develop a rhythmic flow, making the sock structure second nature. Proper tension and attention to detail are key to a professional-looking result.

Shaping the Heel and Toe
Shaping the heel and toe is a critical part of sock loom knitting, ensuring a comfortable and proper fit. Begin by knitting the heel flap, typically using a smaller number of stitches than the rest of the sock. This is achieved by working back and forth on a specific set of pegs, creating a dense fabric for durability. Use a tapestry needle to pick up additional stitches around the heel flap, ensuring a seamless transition to the heel shaping.
For the toe, gradually decrease stitches to form a tapered shape. This is done by working fewer pegs in each row or using techniques like the Kitchener stitch to close the toe neatly. Maintain symmetry by decreasing evenly on both sides of the sock. Use locking stitch markers to keep track of decreases and ensure alignment. Proper shaping requires careful attention to tension and stitch count to avoid puckering or looseness.
Regularly measure the sock against your foot or a sizing chart to ensure the heel and toe fit snugly. This step is crucial for both functionality and comfort. With practice, shaping the heel and toe becomes intuitive, allowing you to craft custom-fit socks with ease.

Binding Off the Socks
Binding off is the final step in sock loom knitting, where you secure the last row of stitches to complete the sock. The most common method is the Kitchener stitch, which creates an invisible and flexible closure. To do this, use a tapestry needle to graft the remaining stitches together, ensuring the toe lies flat and comfortable.
Another method is the e-wrap cast-off, which involves lifting stitches off the loom in a specific sequence. This technique is straightforward but slightly less elastic than the Kitchener stitch. Regardless of the method, it’s important to maintain even tension to prevent the cuff from being too tight or too loose.
A tapestry needle and a length of yarn are essential tools for binding off. Some knitters also use a yarn tail to weave in ends afterward. Properly securing the last stitches ensures durability and a professional finish. Binding off is a satisfying step, as it marks the completion of your hand-knit socks. With practice, this process becomes quick and effortless, allowing you to enjoy the fruits of your labor.

Sizing and Fit Considerations
Sizing and fit are crucial for comfortable and functional hand-knit socks. Properly measuring your foot and understanding the stretch of the yarn ensures a snug yet comfortable fit. Most patterns include sizing charts, but it’s important to adjust based on your specific foot shape and preferred sock height.
To achieve the best fit, measure your foot’s circumference and length. Use a flexible measuring tape to determine these dimensions accurately. Compare them to the sizing chart provided in your pattern or adjust the number of stitches and rows accordingly. Adding or subtracting stitches can help customize the fit without compromising the sock’s structure.
When knitting, try the sock on periodically to ensure it fits well. Use locking stitch markers to mark increases or decreases, making it easier to track your progress. Yarn weight and type also play a role in fit, as thicker yarns create bulkier socks, while finer yarns offer a more tailored look. By paying attention to these details, you can craft socks that are both comfortable and flattering.
Exploring Stitch Patterns and Variations
Stitch patterns add creativity and diversity to your sock loom knitting projects. From simple textures like ribbing and stockinette to intricate designs such as cables and lace, the possibilities are endless. Each pattern offers a unique aesthetic and feel, allowing you to customize your socks to suit any style or occasion.
One of the most popular variations is the ribbed cuff, which provides elasticity and a snug fit at the top of the sock. For a more decorative look, try incorporating lace patterns, which add a delicate and airy texture. Cable stitches are another great option, creating a dimensional and visually striking design. You can also experiment with colorwork by alternating yarn colors to create stripes, Fair Isle motifs, or other multi-color designs.
When exploring these variations, consider the yarn weight and stitch definition. Thicker yarns work well for bold textures, while finer yarns are ideal for intricate patterns. Swatching is essential to ensure the pattern looks as intended. By experimenting with different stitches, you can create unique and personalized socks that reflect your creativity and skill.
Common Mistakes and Troubleshooting
When starting with sock loom knitting, it’s easy to encounter issues that can frustrate your progress. One of the most common mistakes is incorrect tension, which can lead to socks that are either too tight or too loose. To fix this, ensure you maintain consistent yarn tension throughout the project and swatch before starting to gauge your stitches accurately.
Another frequent error is misaligning stitches during the heel or toe shaping. This can result in uneven fabric or holes. To avoid this, use locking stitch markers or small pieces of scrap yarn to mark key points and keep track of your progress. Additionally, double-check your pattern instructions for specific shaping techniques.
Sometimes, beginners may forget to leave enough yarn for seaming or binding off. Always measure your yarn supply and reserve a small amount for finishing. If you encounter dropped stitches or misaligned rows, gently work them back into place using a tapestry needle before proceeding.
Lastly, gauge inaccuracy is a common issue. Regularly measure your work to ensure it matches the pattern’s specifications. If needed, adjust your loom or yarn weight to achieve the correct fit. By addressing these issues early, you can create well-fitting, professional-looking socks with ease. Patience and practice are key to mastering sock loom knitting!
Tips for Beginners
Starting with sock loom knitting can be exciting, but it’s important to begin with the right approach. Always start with a simple project and practice basic stitches before moving to intricate patterns. Use locking stitch markers to keep track of your progress, especially when shaping the heel or toe. This will help you avoid misaligning stitches and ensure a smooth workflow.
Watch tutorial videos to understand the e-wrap cast-on and kitchener stitch, essential for sock loom knitting. Measure your gauge regularly to ensure your stitches are consistent, as this directly affects the fit of your socks. Don’t be afraid to unravel and restart if something doesn’t look right—practice builds skill and confidence.
Keep your yarn organized by winding it into a ball or using a yarn bowl to prevent tangles. Start with a small project, like a single sock, to familiarize yourself with the loom and stitches before committing to a pair. Finally, be patient with yourself—sock loom knitting is a skill that improves with time and practice. Happy knitting!
Caring for Your Hand-Knit Socks
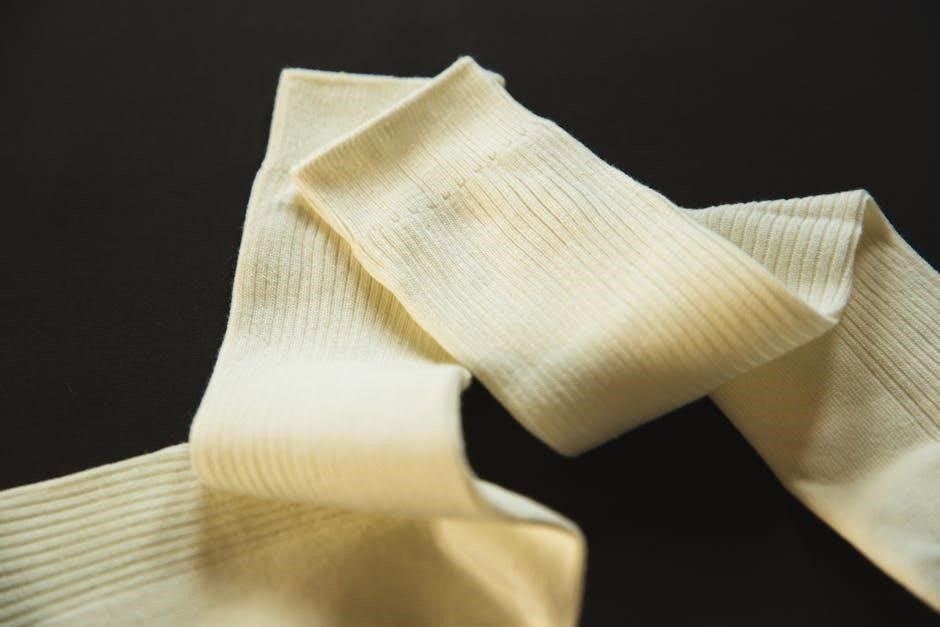
Proper care ensures your hand-knit socks remain soft, durable, and comfortable for years. Always wash them by hand using mild detergent and cold water to prevent yarn damage or shrinkage. Gently swish the socks in the water, avoiding agitation that could cause pilling or stretching.
Reshape the socks while they are damp to maintain their original fit. Lay them flat on a clean towel to air-dry away from direct sunlight or heat, as this can cause fading or yarn degradation. Avoid machine washing or drying, as the friction and heat can damage the fibers and weaken the stitches.
For storage, keep your socks in a cool, dry place to prevent moisture buildup. Avoid using fabric softeners or bleach, as these can strip the yarn of its natural oils and softness. By following these care tips, you can enjoy your hand-knit socks for many seasons to come.
Optional: For extra protection, consider using a fabric refresher spray or natural fibers like wool, which have inherent antibacterial properties. This will keep your socks fresh and extend their lifespan.
Congratulations on completing your journey into the world of sock loom knitting! With the skills and knowledge you’ve gained, you’re now equipped to create cozy, personalized socks for yourself and your loved ones. Remember, practice makes perfect, so keep experimenting with different yarns, stitch patterns, and loom types to refine your craft.
As you move forward, consider exploring advanced techniques like cabling, lacework, or colorwork to add unique touches to your socks. Don’t hesitate to join online knitting communities or watch video tutorials for inspiration and troubleshooting tips. Many crafters find joy in sharing their projects and learning from others.
If you’re eager to take your skills to the next level, try designing your own patterns or gifting your creations to friends and family. There’s no better way to spread the joy of handmade crafts than by sharing your passion with others. Keep knitting, and happy crafting!